Scenes
Scenes give teachers added control over students' web activity during classroom sessions. Scenes can help teachers control which sites students can and cannot reach during their live classroom sessions. Scenes can either be
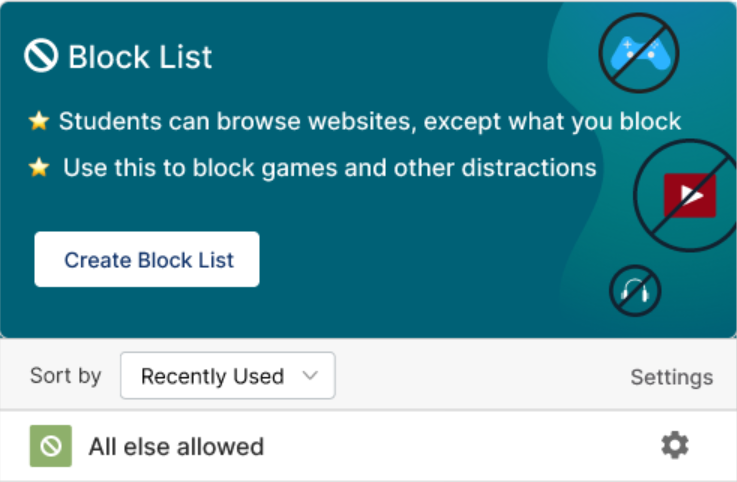
- Blocked Websites List: all websites are allowed except the websites on your list
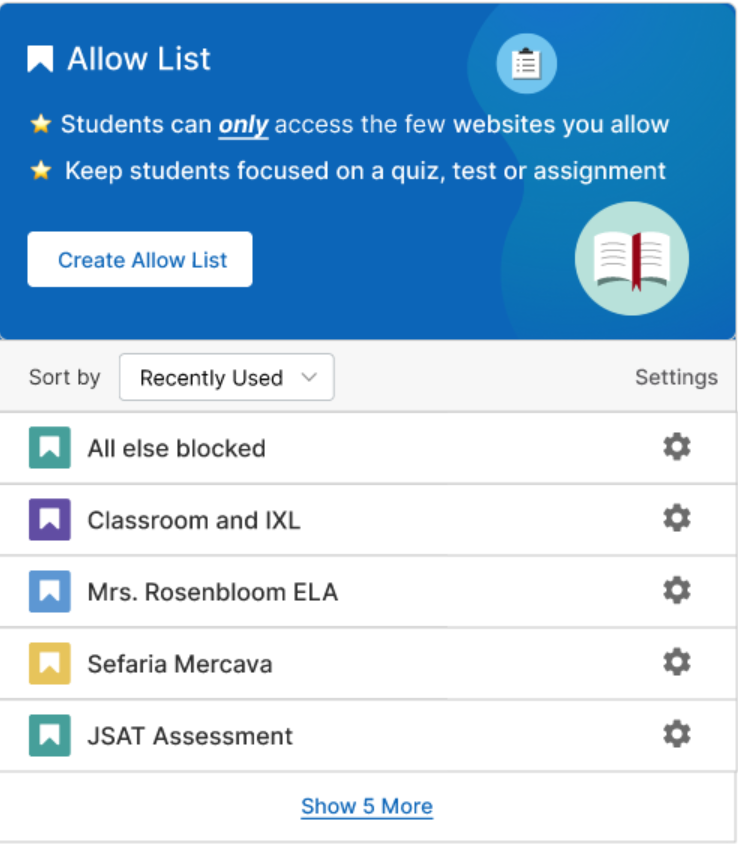
- Allowed Websites List: all websites are blocked except the sites added to your list
Create a New Scene
Start by clicking the Scenes tab in the left column.
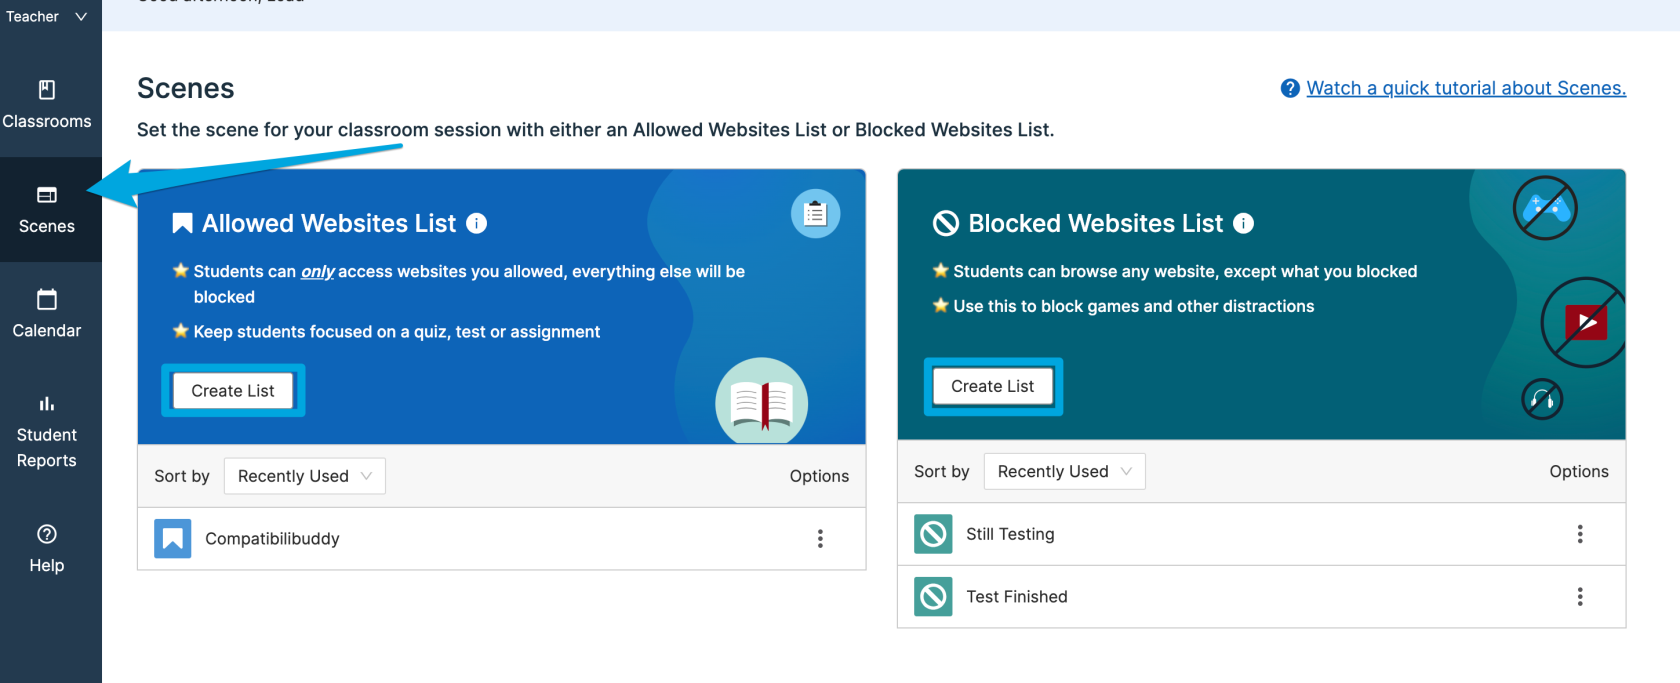
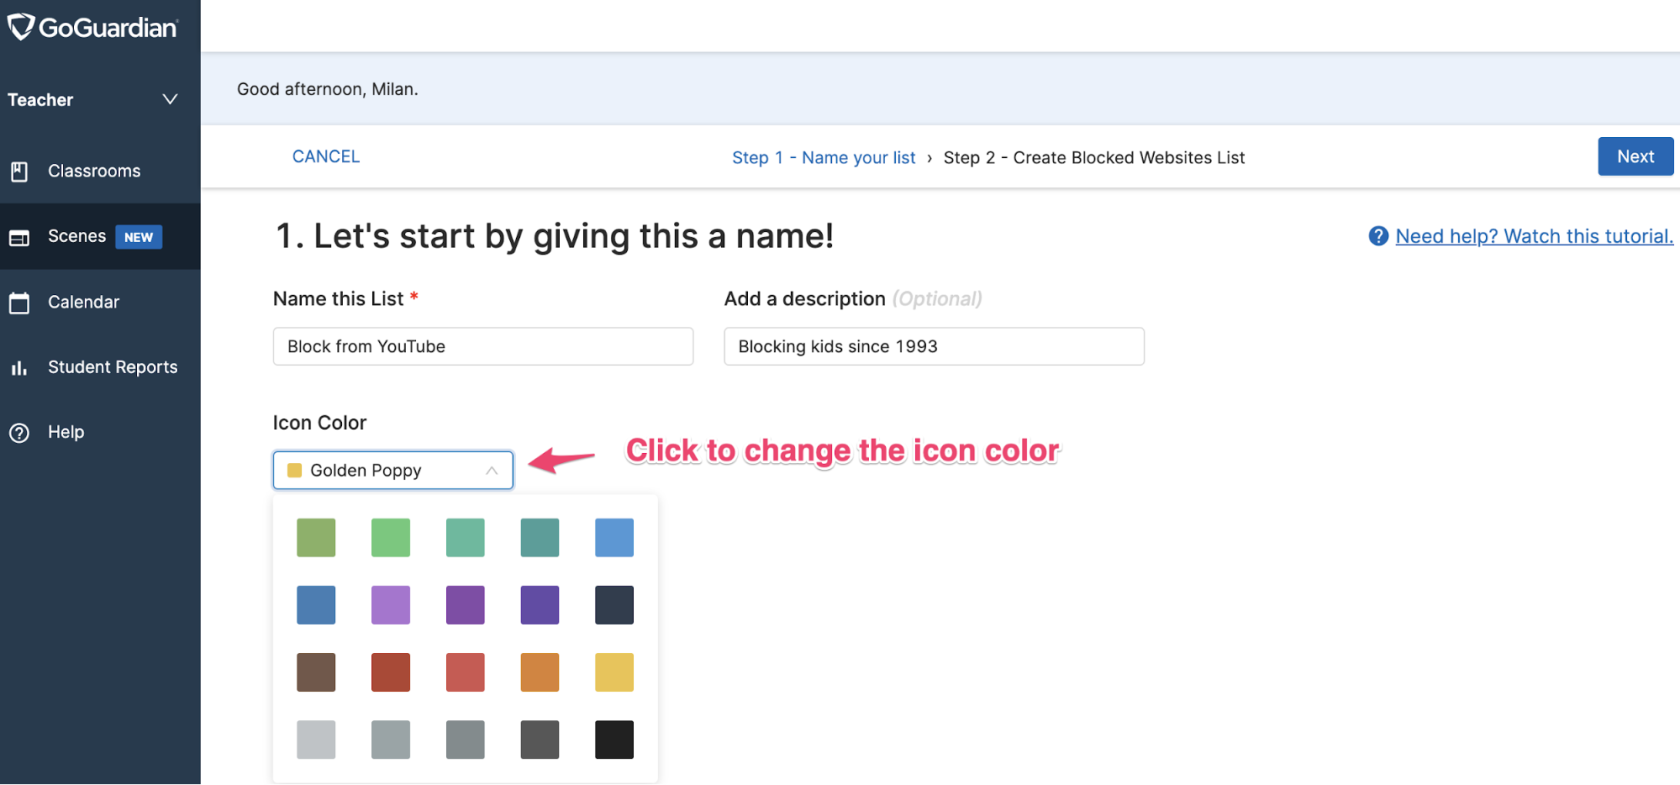
This will bring you to the main Scenes page. You'll be able to name your Scene, add a Description (optional), and choose the Icon Color (also optional). Click Next to move on.
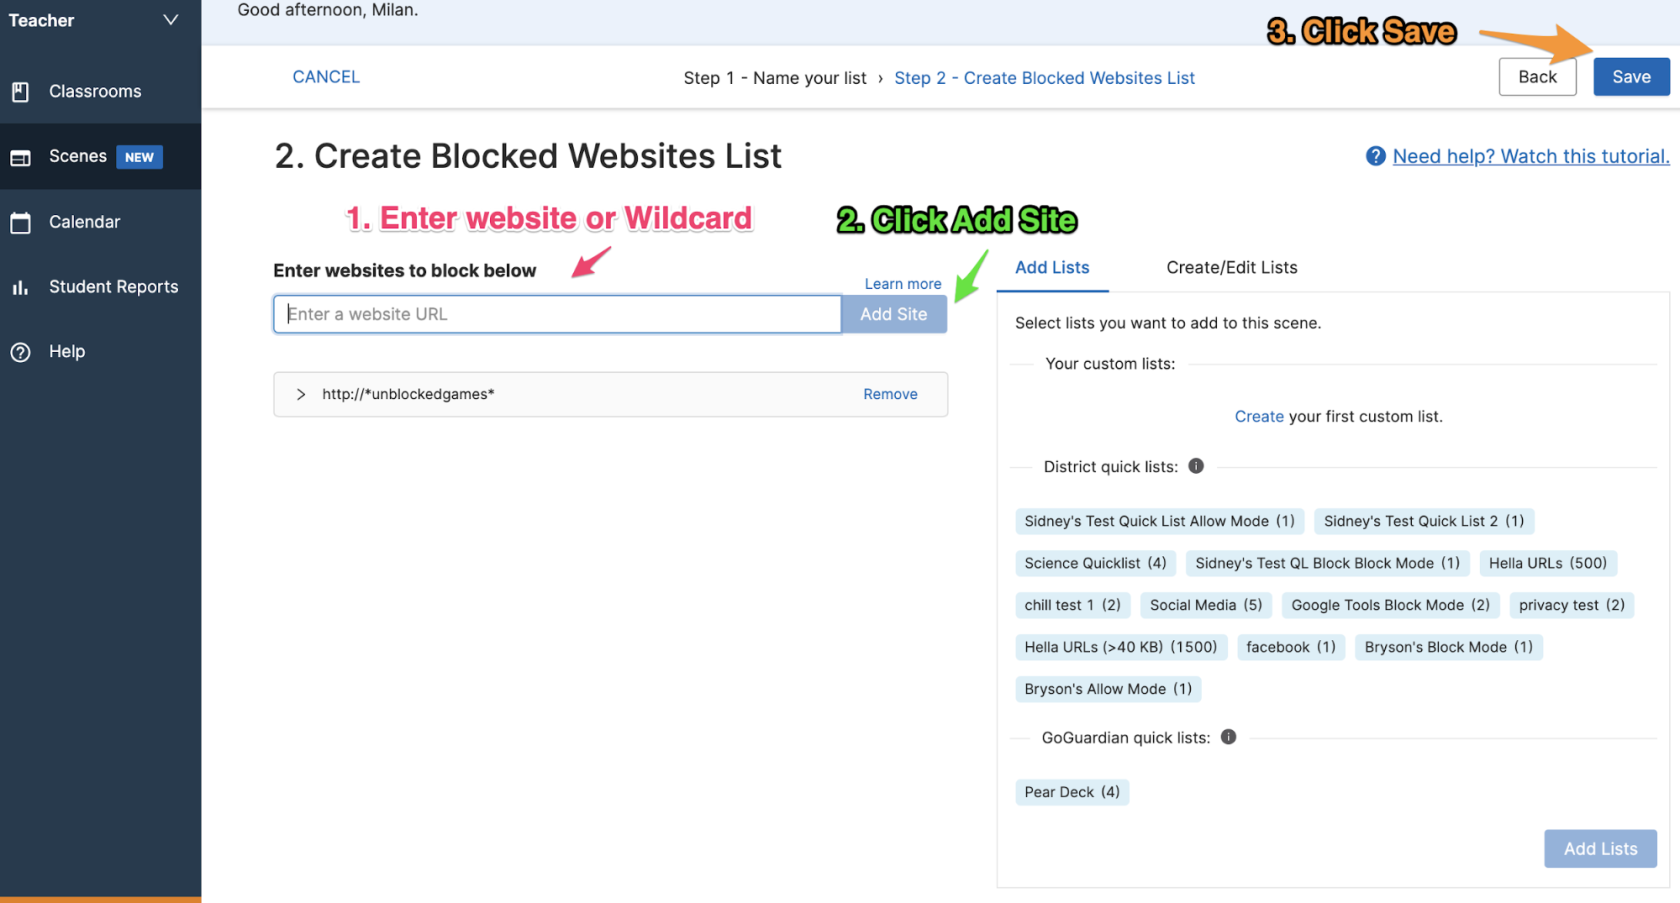
From this page, you can add the website URLs or Wildcard (URLs or terms) to be blocked. You can also add Quick Lists (found on the right by selecting the list to add and then clicking the Add Lists button at the bottom right). Once all sites have been added, click the Save button (at the top-right) to save your Scene.
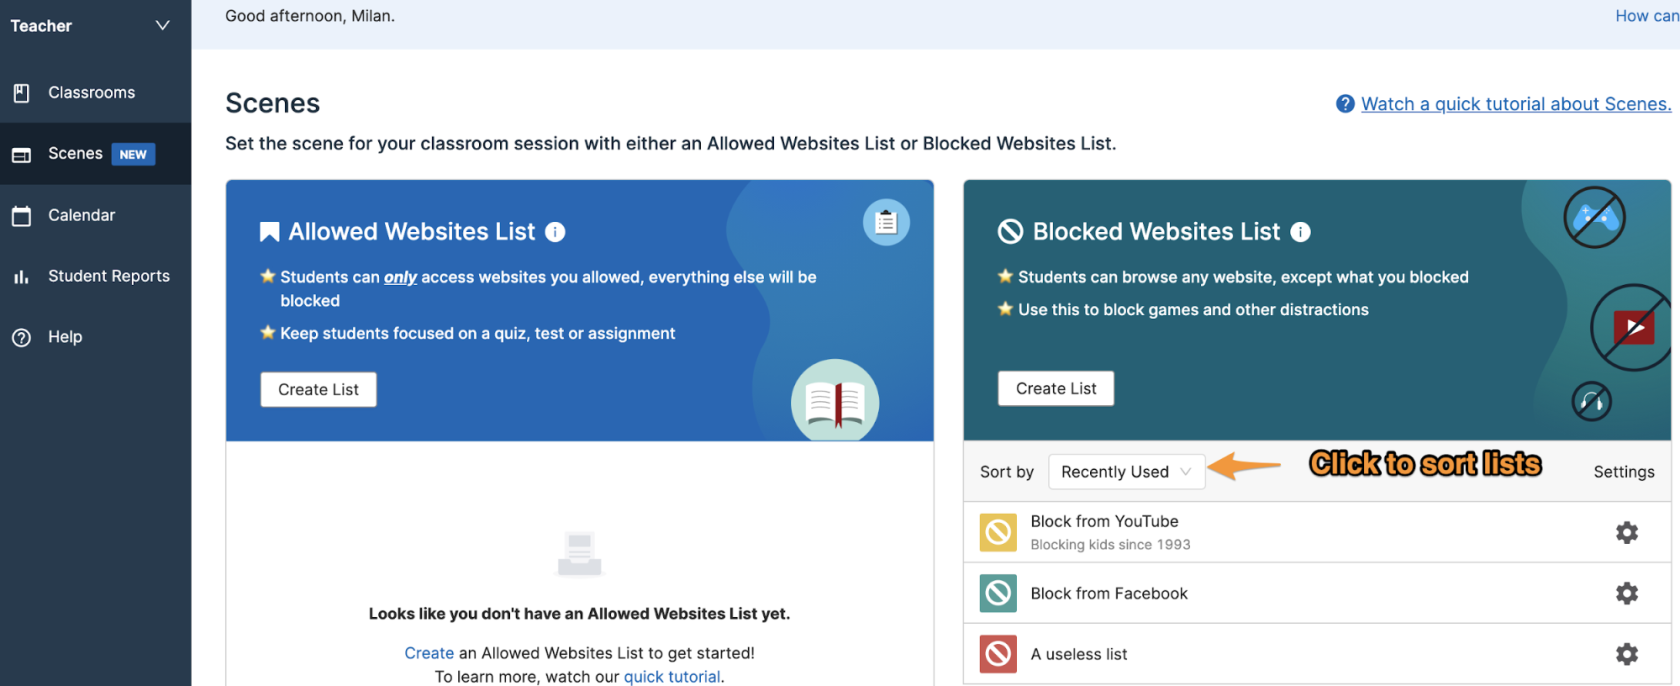
From this page, you can choose to create an Allowed Websites List or a Blocked Websites List.
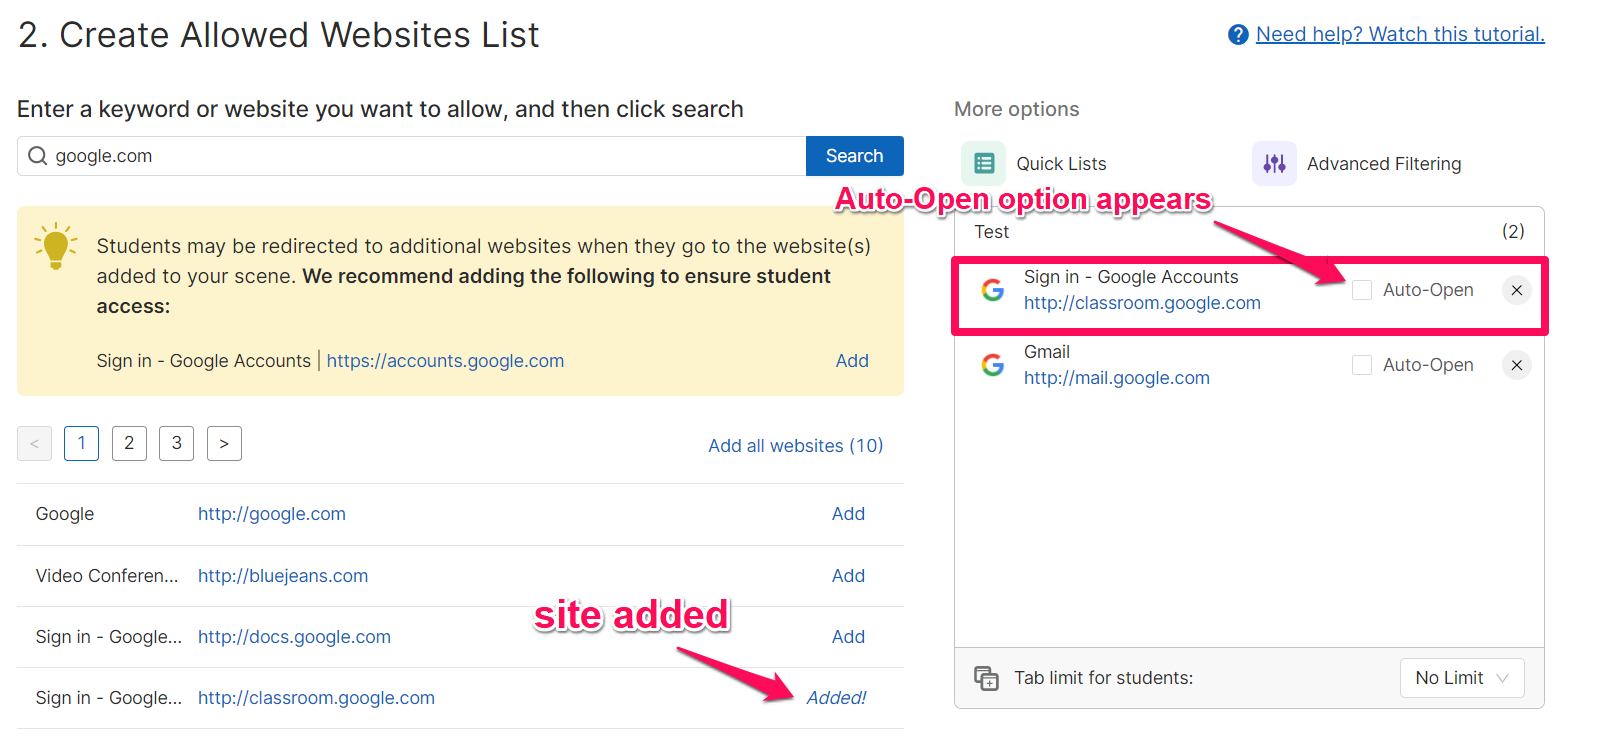
The Allow List website entry box looks like this:

The Block List website entry box looks like this:

Creating Lists and Tab Management
From this page, you can add the website URLs or Wildcard (URLs or terms) to be blocked or allowed.
You can also add Quick Lists (found on the right by selecting the list to add and then clicking the Add Lists button at the bottom right). Quick Lists are groups of URLs that can be quickly added or removed to your Allow or Block list. Quick Lists are typically used in Allow List scenarios.
Scroll down to the bottom of the page (or look at the right-hand side of the screen) to find the Tab Management options.
- Auto-Open Tabs: Create a list of tabs to automatically open at the start of the classroom session.
- Maximum Open Tabs: Set a maximum number of tabs that can be opened by students during the classroom session. No limit means a student can open as many tabs as they want or need. Once the tab limit is reached, no new tabs can be opened until a previous tab is closed or the tab limit is increased. By default, there is no limit set.

Once all desired changes have been added, scroll to the top of the page and click the Save button to save all settings for your Scene.
Your Scene will now appear under the panel that corresponds to the type of list created.
Editing Scenes
If you need to make any adjustments to your Scene (such as adding or removing sites, setting Auto-Open tabs, setting a tab limit, or renaming, duplicating, or deleting your Scene), you can do so by clicking the gear icon next to the Scene that needs to be edited. Then, you can select the desired option from the dropdown list.
Sharing Scenes
Once a Scene has been created, the three dots next to each Scene will have a Share option. Selecting Share will open the Share Scene modal where additional teachers can be added via email address to allow them access to a shared, uneditable version of the Scene.
Teachers who receive the shared Scene will then see it in their list of Scenes with a Shared with me notice. Any changes made to the Scene by the owner will be updated in the shared Scene as well.
Although those with a shared version of the Scene will not be able to make edits, clicking the three dots next to the shared Scene will provide the option to Make a Copy of the Scene. A copied Scene can then be edited, applied to classes, or re-shared with other teachers as needed.
Applying a Scene
If you would like to manually select the Scene to be applied before starting your session, click the Classrooms tab in the panel on the right and select the classroom to apply your Scene.
Scenes can also be applied to active Teacher sessions or set as the Default Scene to apply any time a new session is started.
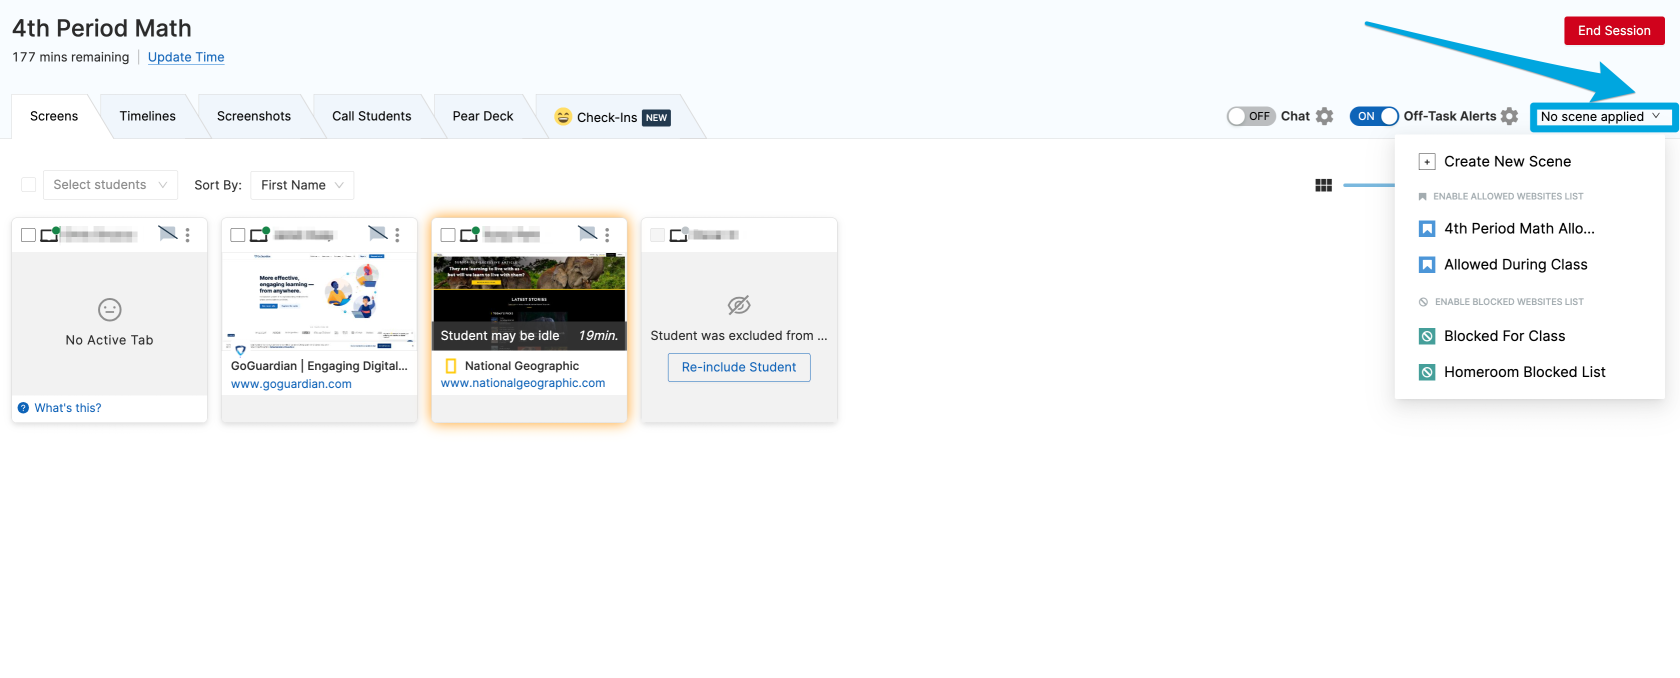
Applying Scenes in Active Sessions
- Click on the "Scene Status: " button at the top of your active session. When hovering over this button, the text will change to "Change Scene"
- Select the Scene you wish to apply. The "Scene Status: " button will change to include the name of your Scene. If no Scene is applied, the text will display "Scene Status: No Scene"
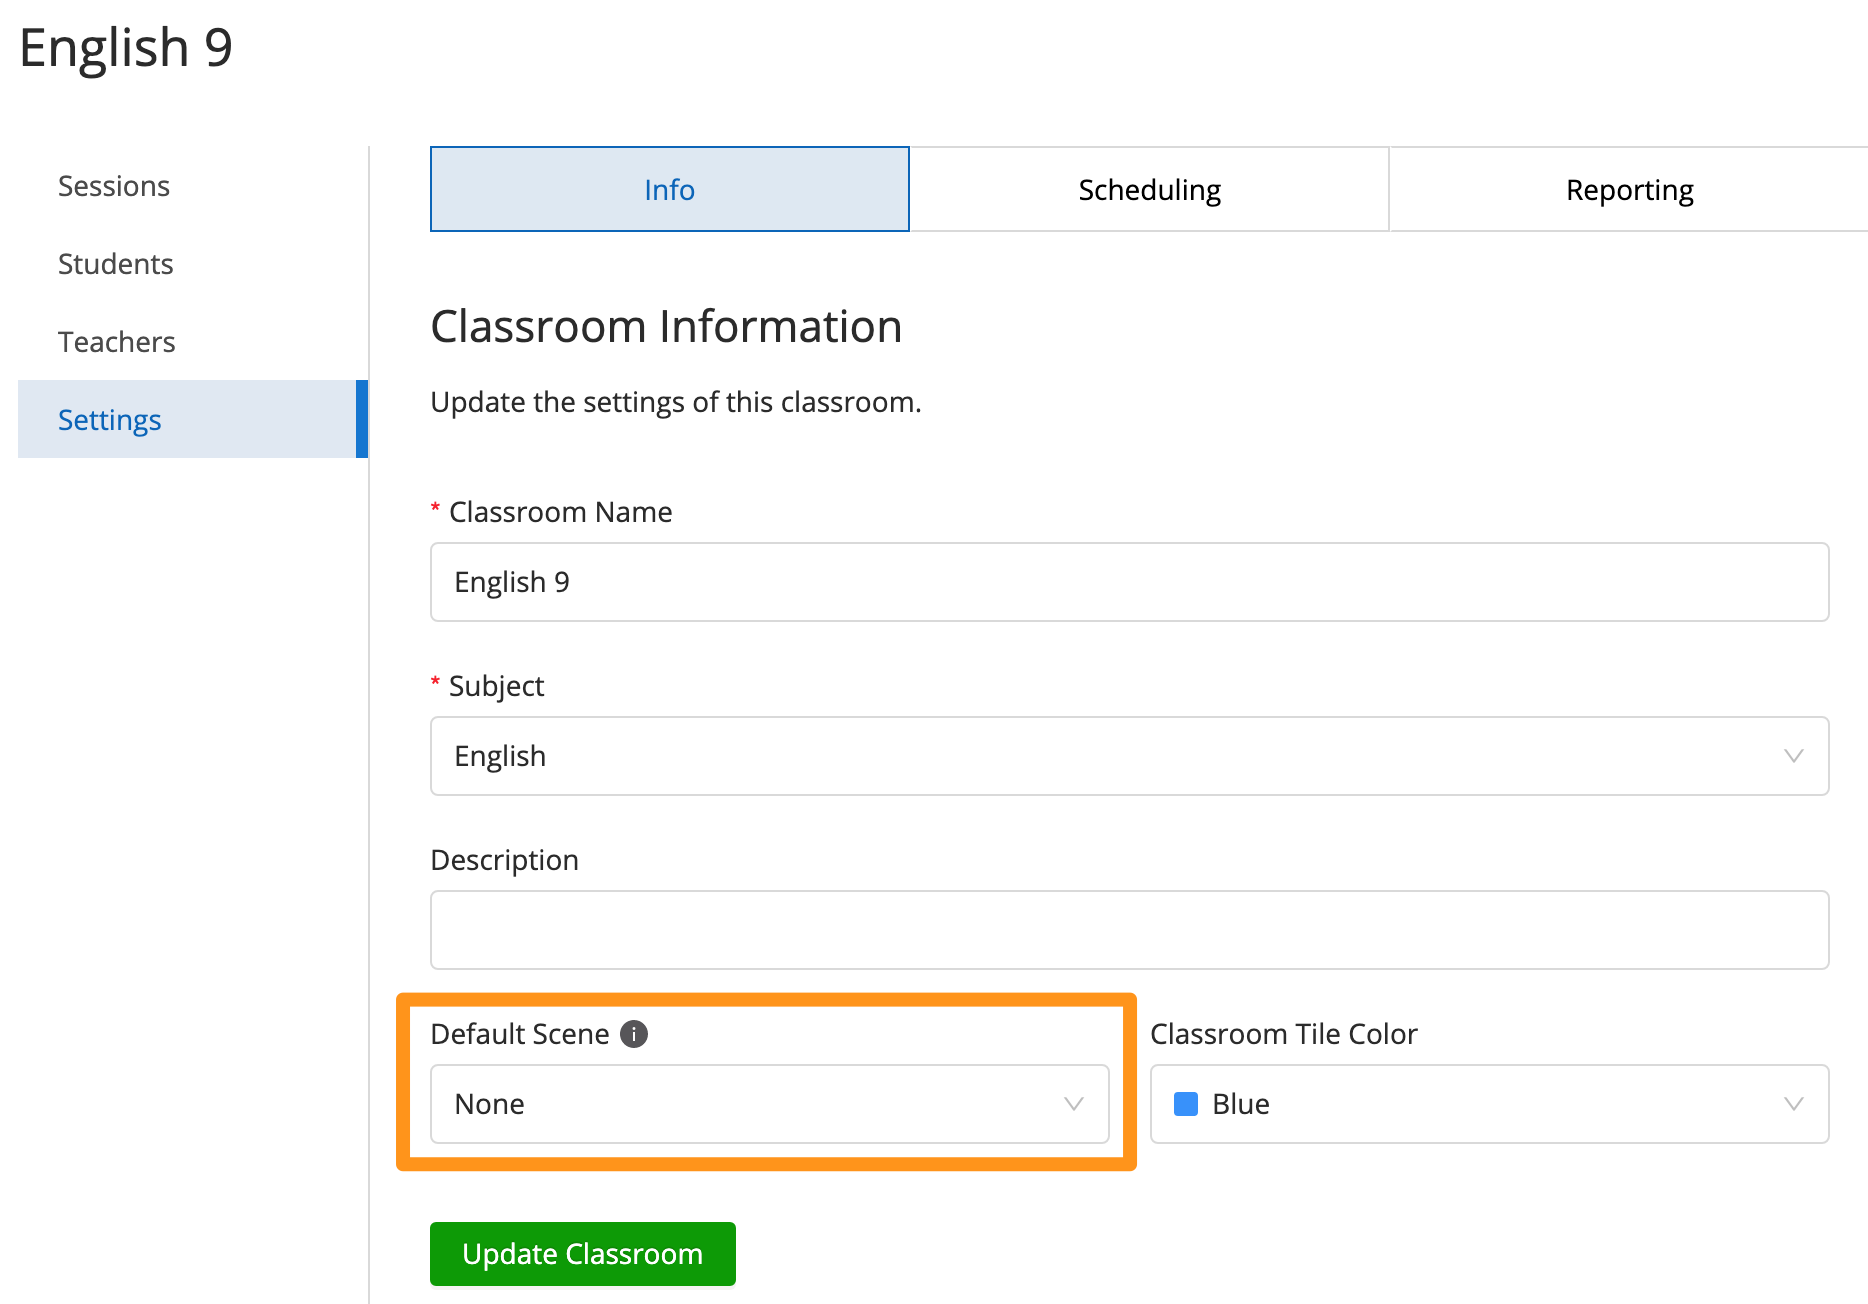
Setting a Default Scene to Always Apply at the Start of a Session
- From your Teacher Dashboard, find the classroom that you wish to have a Default Scene applied and click Settings.
- Under the Info tab, find the Default Scene drop-down menu and select a Scene
- Click Update Classroom to save your changes