Send Class Mail
ParentLocker’s Class Mail module allows you to effortlessly communicate with your students and their parents via e-mail.
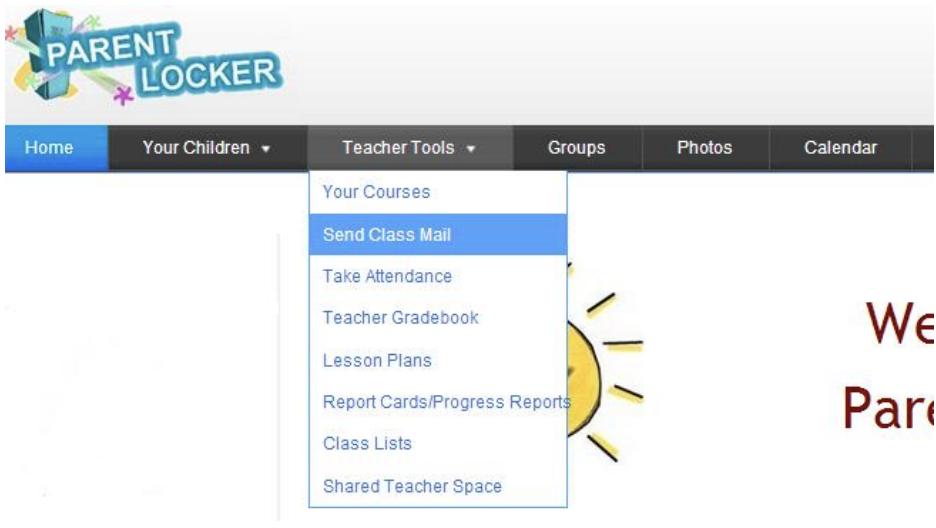
- Under “Teacher Tools” on the top navigation bar, click “Send Class Mail.”
- Navigate through each tab of the Send Class Mail page.
-
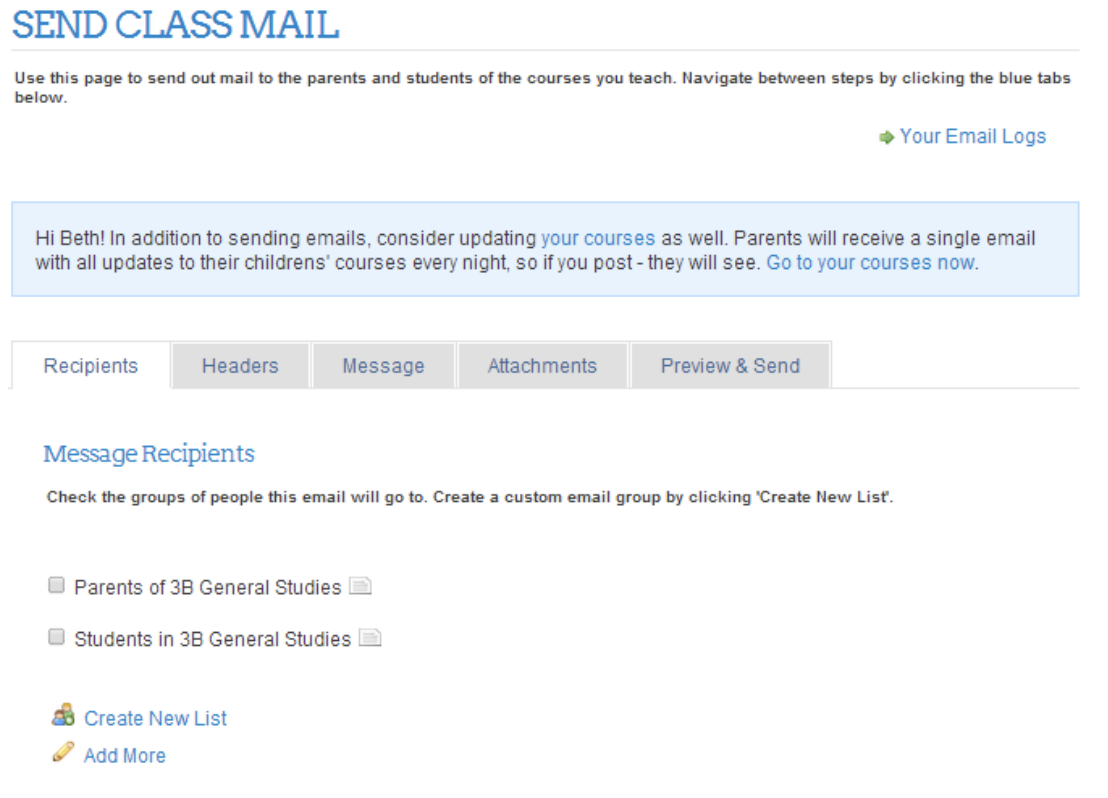
In the first tab, “Recipients,” check off what list you want the message to go to. By default, the courses you teach will be there as lists to check off.
Tips
•You can check off as many lists of recipients as you want.
•If you want to add additional recipients, click “Add More” and search for additional recipients by name.
•To create a new list that will appear as a checkbox every time you send an email, click “Create New List.” Enter a name for this list in the box that appears, and select people to include in that list.
•Even if there is a recipient/email address that is in multiple lists you check off to send to, the recipient will only receive the email once.
•Recipients will not see who else the email was sent to. - In the “Headers” tab, select how you want your name to appear in the email, type the subject of the email, and enter the reply-to address. This is the email address you want any replies to go to (usually your email address).
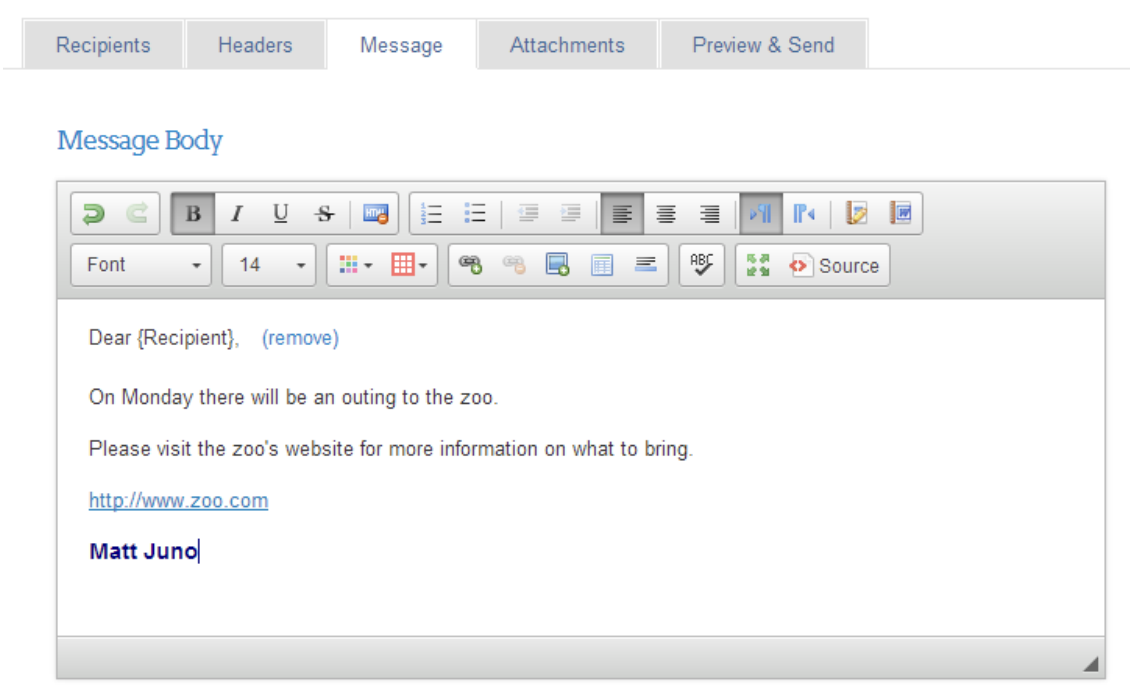
- In the “Message” tab, enter the text of your email. You can format the text of the email (font, size, colors, bold, bullets, etc.) using the toolbars at the top.
Tips
•Click the Spellcheck icon to check for any spelling errors.
•The email will automatically begin with “Dear” followed by the recipient’s name (each recipient will receive a personalized email with their name). You can remove the personal greeting by clicking {remove} near “Dear {recipient}”.
•Add an image to the message body by clicking the icon in the toolbar and browsing your computer for an image.
 - In the "Attachments" tab, upload any files you want to include as attachments in the email.
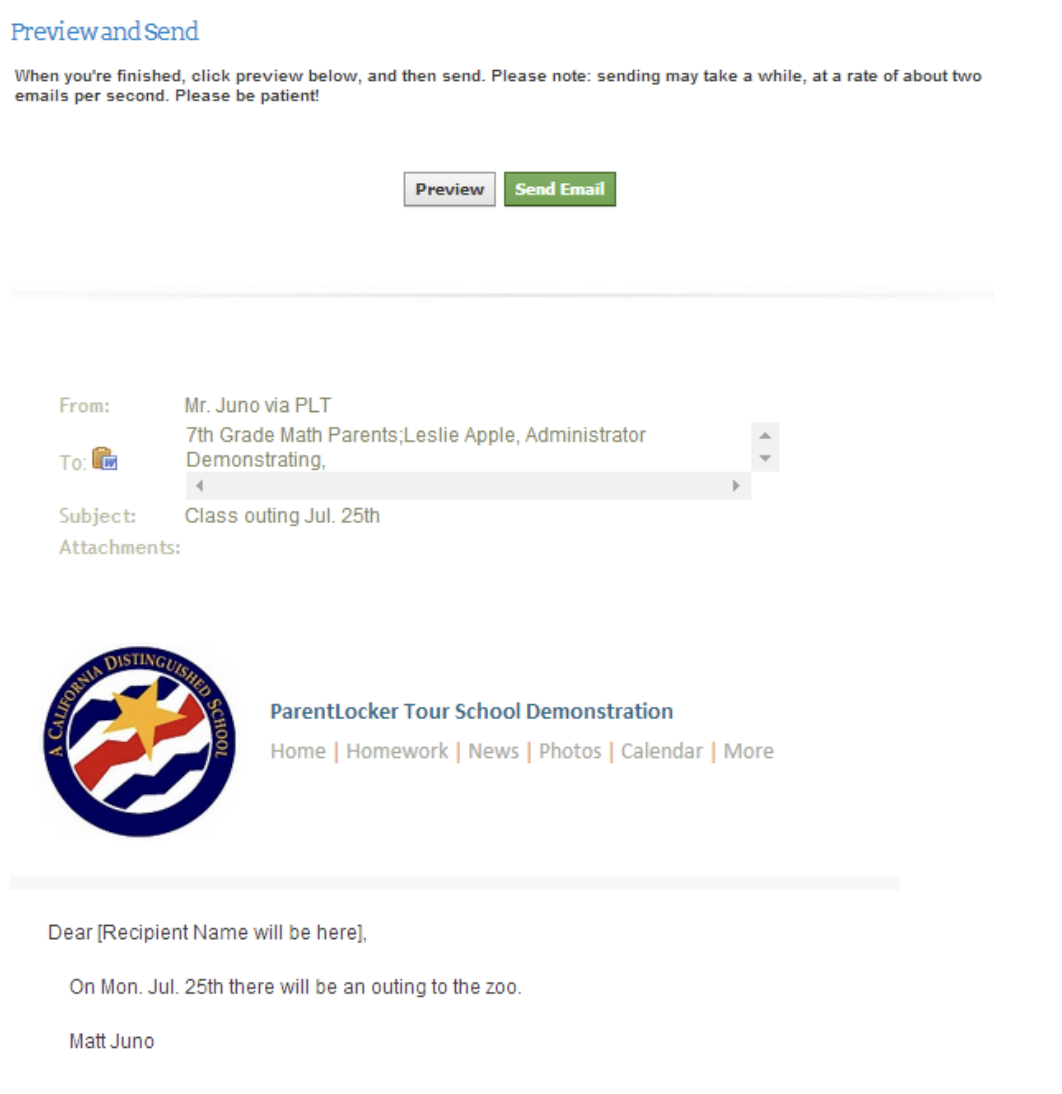
Click “Include Files” and browse for files on your computer to attach. - Finally, click the “Preview & Send” tab to prepare for sending.
•First, click the “Preview” button to see what your email will look like when sent.
•If you’re satisfied, click the green “Send Email” button to send the email.
Otherwise, you can go back to previous steps to make adjustments.
•When you send, a progress bar will appear. Please note that it may take a minute or two to send the emails.